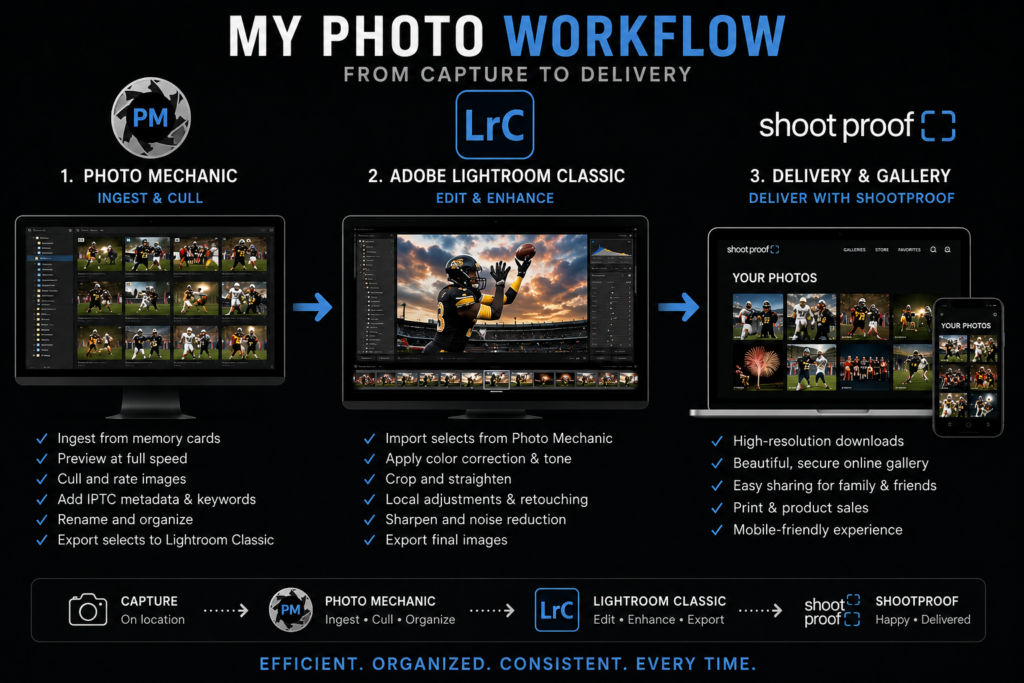
As a professional photographer, the magic you see in a final gallery isn’t just about clicking the shutter. Instead, it is the result of a meticulous, step-by-step photography workflow that begins before I even leave for a portrait session and ends when your stunning prints arrive. Because of this process, I want to take you behind the scenes to show you exactly how I ensure your memories are captured flawlessly, securely backed up, and polished to perfection.
Here is an inside look at my complete post-processing workflow, from camera gear preparation to the final gallery delivery.
Pre-Shoot Preparation: Protecting the Gear
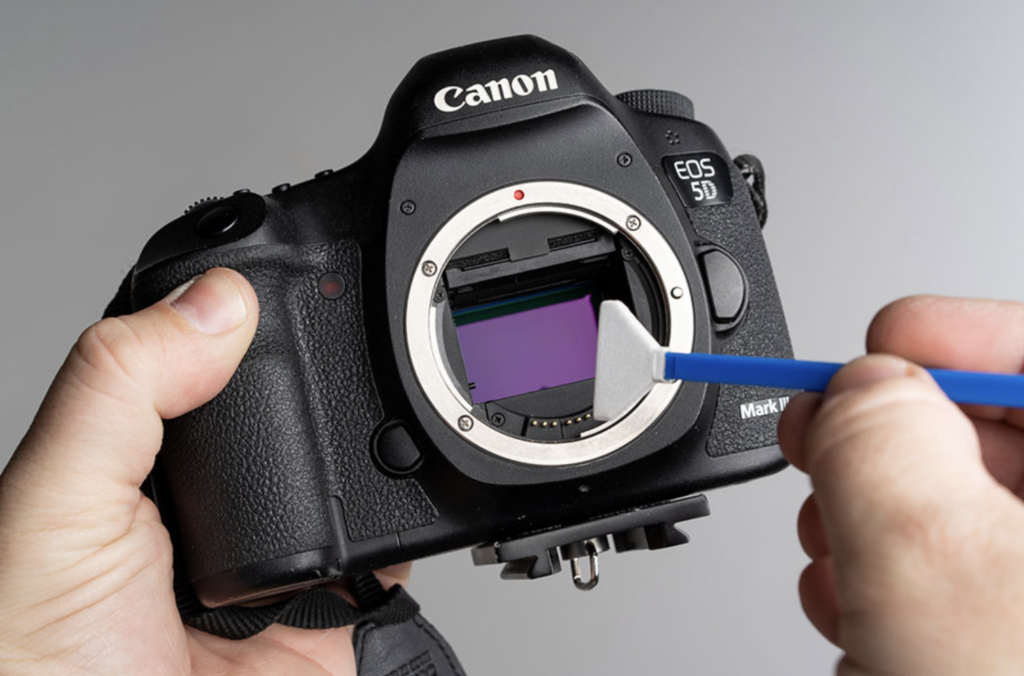
Long before I arrive at a wedding or portrait session, I make sure my equipment is in pristine condition. Specifically, my process before every paid shoot always begins with cleaning the camera sensor.
Sensor Cleaning and Lens Care
I clean the sensor by carefully blowing it out or using a specialized sensor swab and solution. You never want to risk scratching the sensor, as it can permanently ruin images. In addition, I clean all my lenses and blow out any lingering dust particles to ensure crisp, sharp images.
Formatting and Time Synchronization
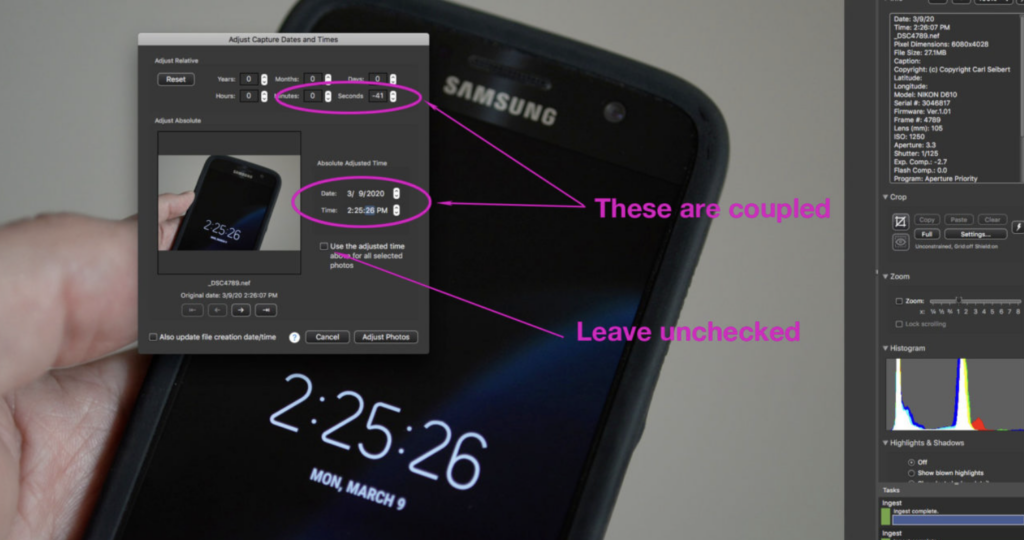
Once the gear is physically clean, I prepare the digital side of my photography workflow. First, I format all my memory cards so they are completely fresh. Then, I synchronize each camera body by taking a picture of a digital clock on my phone. While this might sound like an unusual step, it is an absolute lifesaver later on. When shooting with multiple cameras, this exact time reference allows me to perfectly sync the timestamps of all photos in post-production. Consequently, the entire event flows in exact chronological order.
The Immediate Post-Shoot Priority: Backup and Security
The moment a session is over, my immediate priority is the safety of your photos. Therefore, before I even think about photo editing, I back up all the RAW files onto a high-speed Solid State Drive (SSD) as well as medium-range hard drive storage. Redundancy is key in a professional photography workflow. Ensuring your memories are safely duplicated in multiple locations gives both my clients and me ultimate peace of mind.
Culling and Sorting with Photo Mechanic
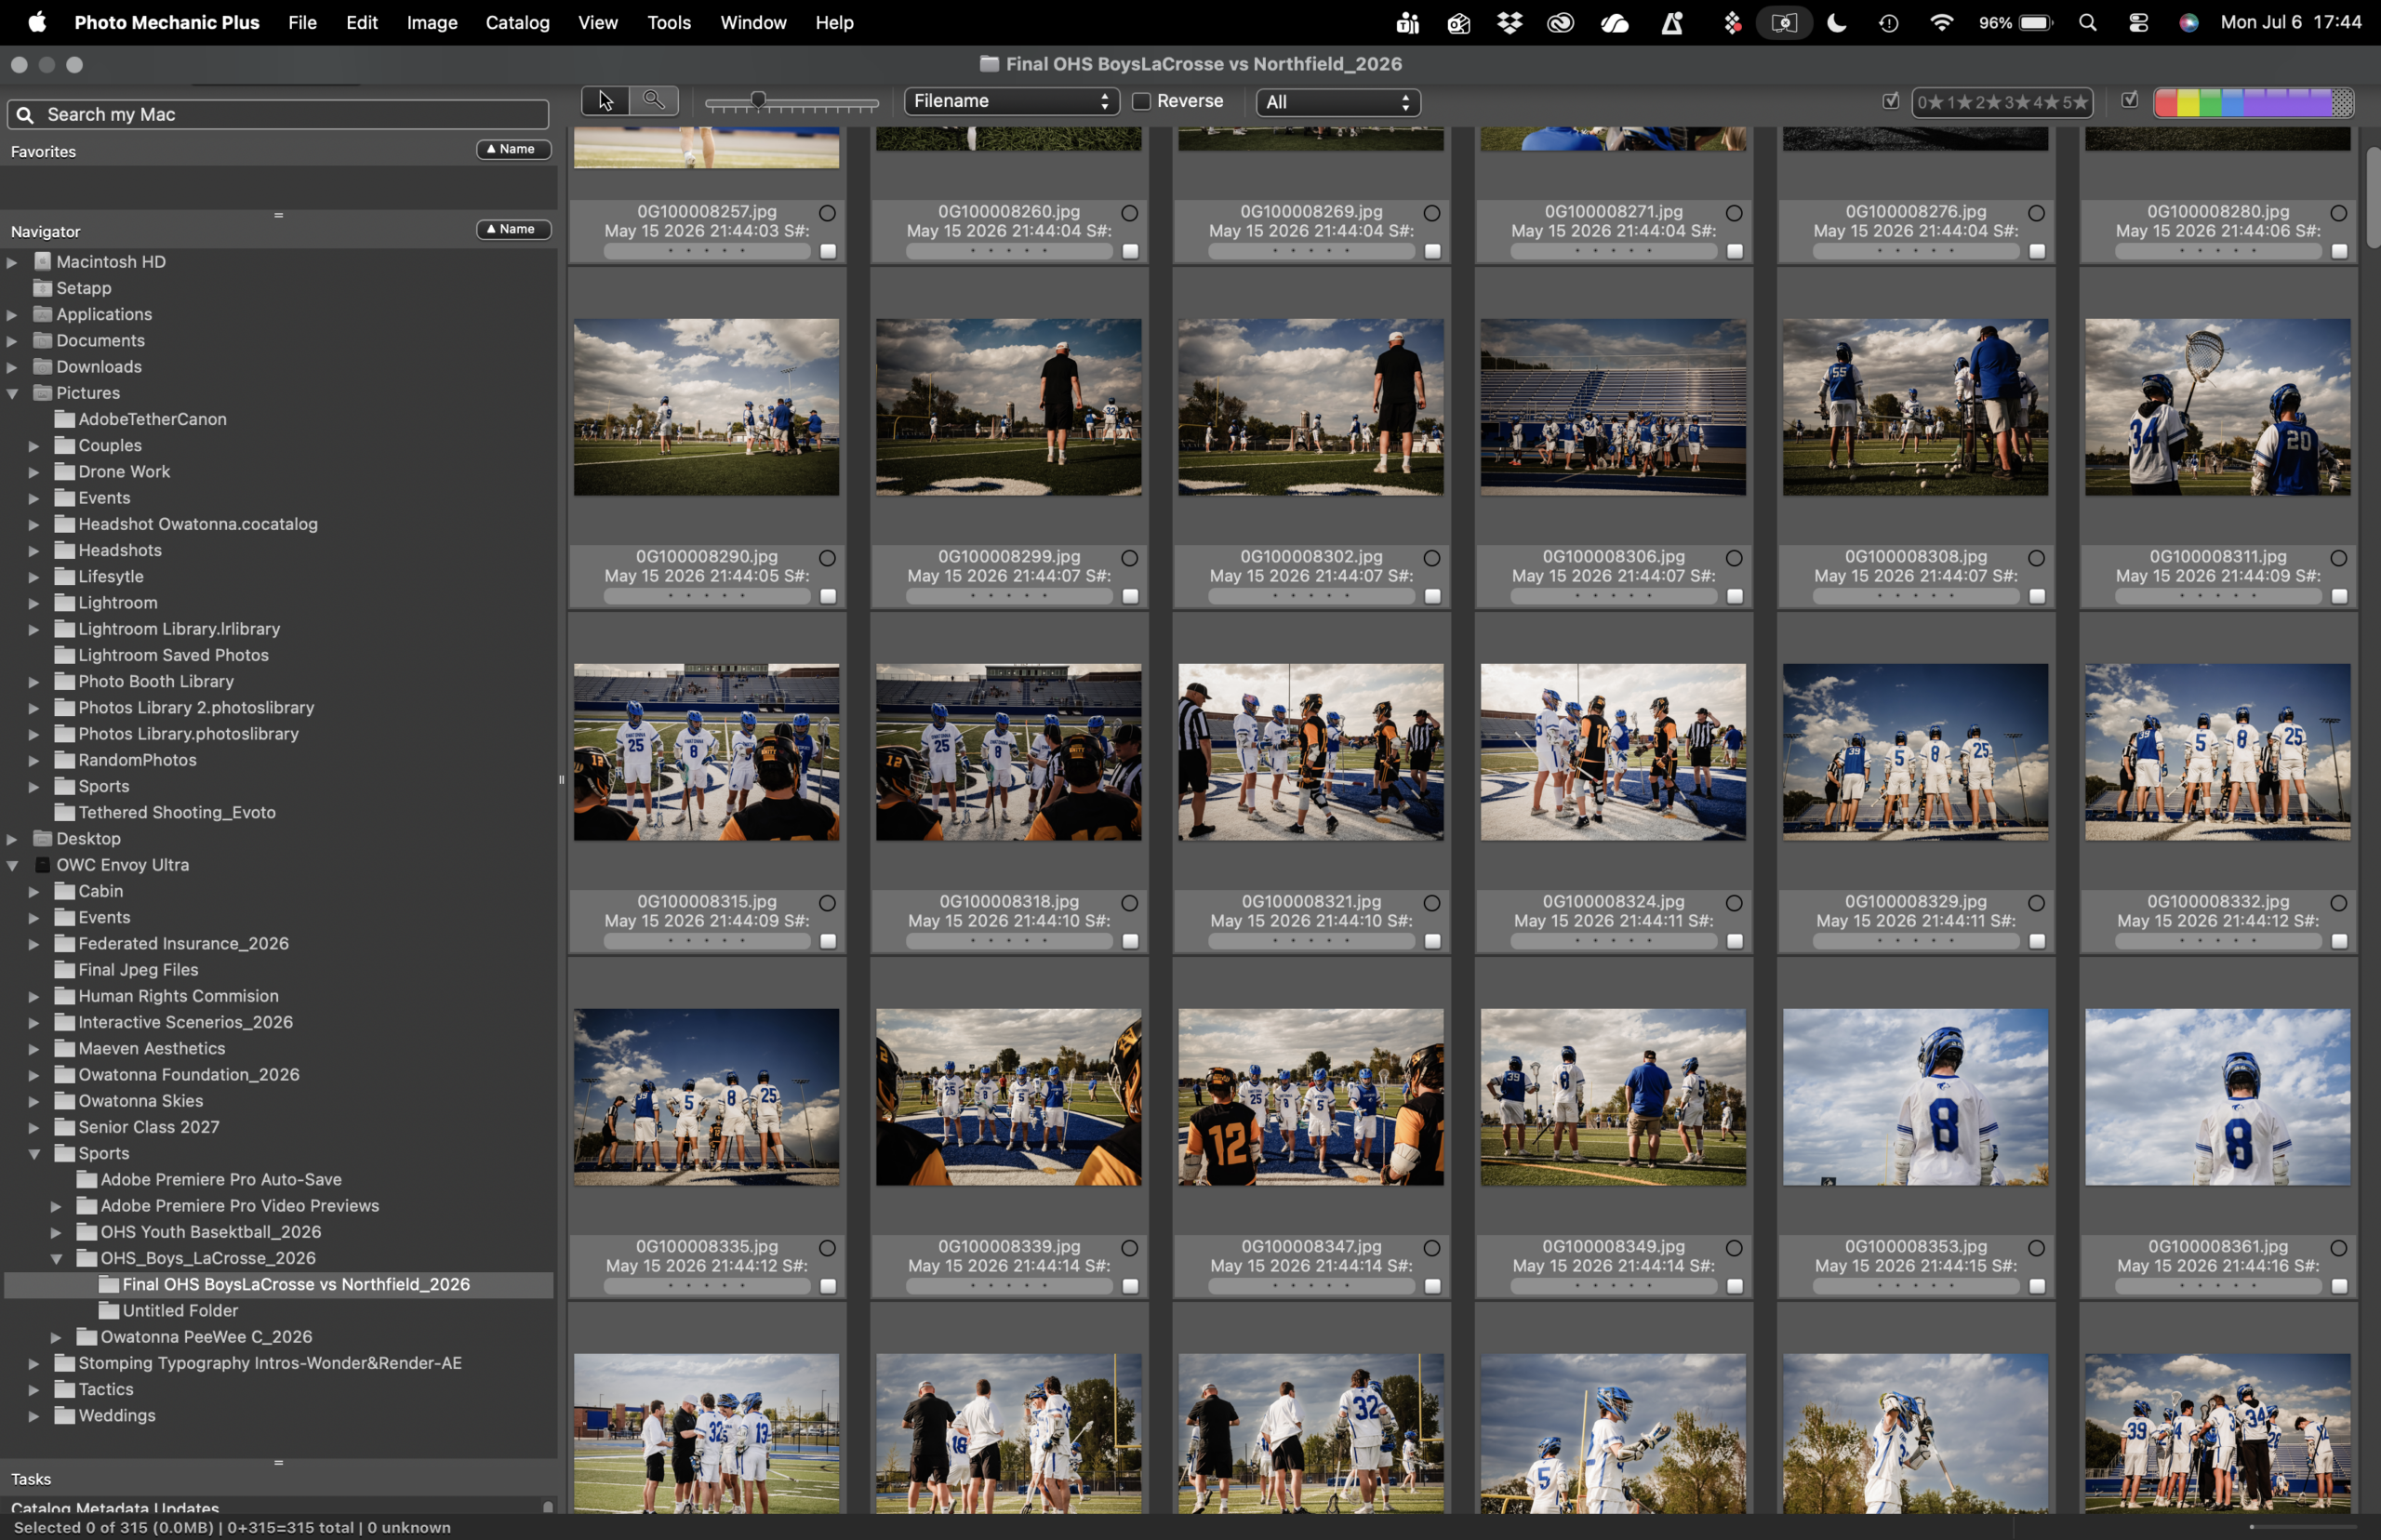
With the images securely backed up, the selection process begins. For this crucial step, I rely on Photo Mechanic. It is widely regarded as the fastest media browser available, allowing me to move from image to image without any frustrating rendering delays.
In Photo Mechanic, I sort, label, and cull the hundreds of pictures down to the absolute best ones that will be edited. Furthermore, this is where that digital clock picture comes into play. Photo Mechanic has a feature to synchronize time across multiple camera bodies. By referencing that initial clock photo, I can adjust the time and date metadata so that every single shot is perfectly in order.
The Editing Suite: Professional Photo Editing Software
Once the final selections are made, the culled photos are transferred into my main editing suite to achieve my signature look.
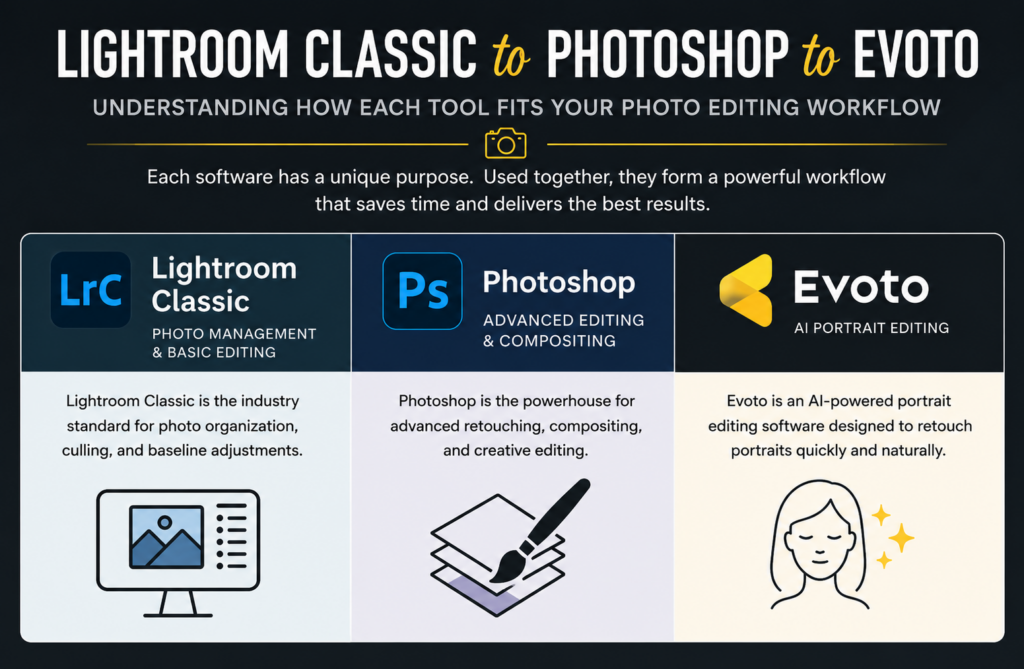
Color Grading in Adobe Lightroom Classic
The photos are first imported into Adobe Lightroom Classic for full editing. This is where I apply my color grading philosophy. I adjust exposure, contrast, and color balance to ensure consistency across the entire gallery.
Precision Editing with Adobe Photoshop
If an image requires heavier, more precise editing, I bring it into Adobe Photoshop. Ultimately, Photoshop allows for advanced manipulation that goes beyond standard color and exposure adjustments.
Natural Retouching with Evoto AI
For posed subjects—such as professional headshots, senior pictures, wedding portraits, or personal branding photography—I utilize a specialized AI retouching software called Evoto. My goal with retouching is always to keep things looking natural. Therefore, I use Evoto to gently remove any temporary blemishes or distractions, ensuring the client looks like the absolute best version of themselves without looking over-processed.
Exporting, Album Design, and Professional Prints
After the editing and retouching are complete, all pictures are exported back through Lightroom Classic using specific, high-quality export settings. This is a vital part of finalizing my photography workflow.
Designing Heirlooms with Fundy Designer
For clients who have ordered physical heirlooms, I use the best tools in the industry to bring those photos into the real world. For instance, if a client wants a photo album, I design it using Fundy Designer, which is widely considered the best album design software on the market.
High-Quality Prints from Miller’s Professional Imaging
For all printed pictures, I exclusively use Miller’s Professional Imaging. Their professional photo prints are absolutely stunning and true to color. Moreover, they offer incredibly fast delivery times.
The Final Reveal: Client Photo Galleries
The final step of the journey is delivering the images to the client. All finished, high-resolution pictures are uploaded to ShootProof. This platform allows me to create beautiful, specialized online photo galleries. As a result, clients can easily view, share, and download their photos in a seamless, user-friendly experience.
From the careful cleaning of a camera sensor to the final stunning print, every step of this photography workflow is designed with one goal in mind: delivering an exceptional, stress-free experience and images that you will cherish for a lifetime.